The Editor
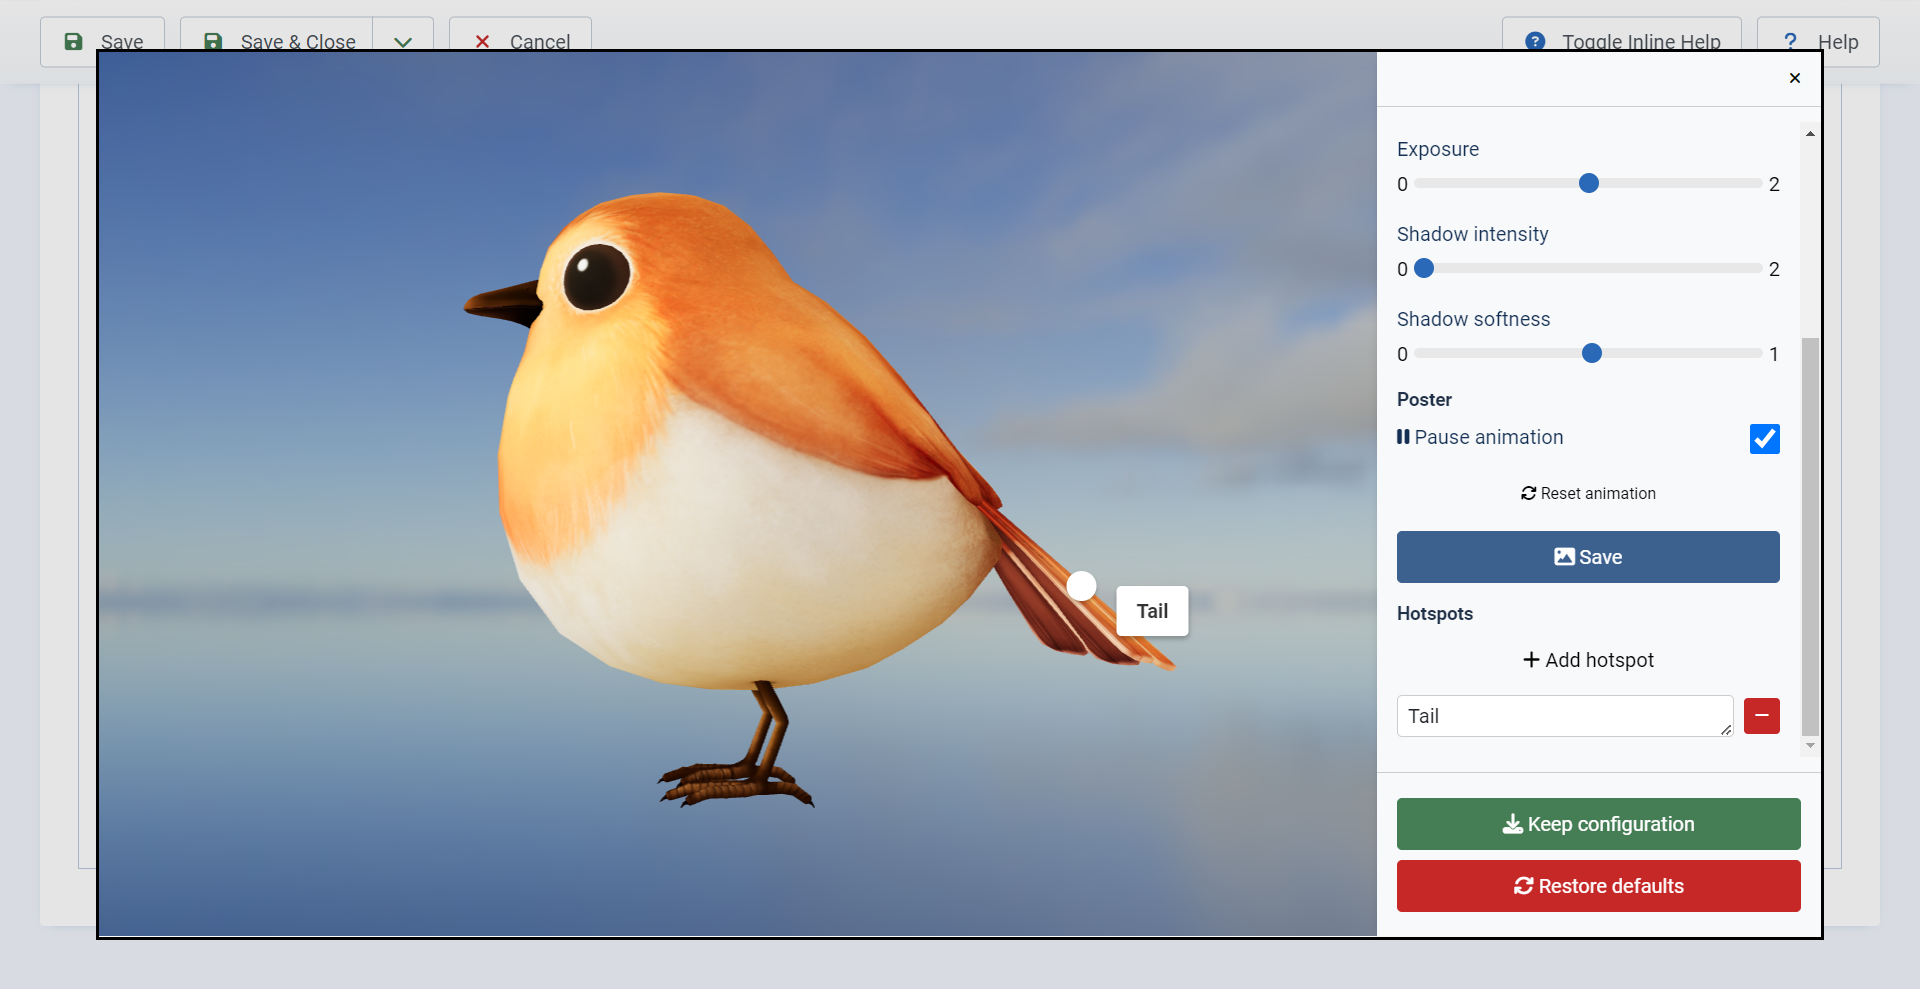
The model viewer editor offers a range of tools to customize the appearance of your 3D models. Here's how to use the editor:
Accessing the Editor
To access the model viewer editor, follow these steps:
- First, ensure you have uploaded a 3D model within the 3D Viewer field.
- Click the Open editor button for the specific model you wish to modify the display for.
Editor's Customization Options
Now, let's explore the various options the model viewer editor offers to tailor the look of your 3D model:
- Edit:
- Background color: Select a background color for your 3D model display.
- Environment: Controls the environmental reflection of the model.
- Use environment as skybox: Set the background image of the scene and apply an environment map to the model. Supports png, jpg, and hdr (recommended) images.
- Exposure: Adjust the exposure of both the model and the skybox.
- Shadow Intensity: Manage the opacity of shadows. Set to 0 to disable shadows entirely.
- Shadow Softness: Controls the blurriness of the shadow. Set to 0 for hard shadows. Softer shadows render faster.
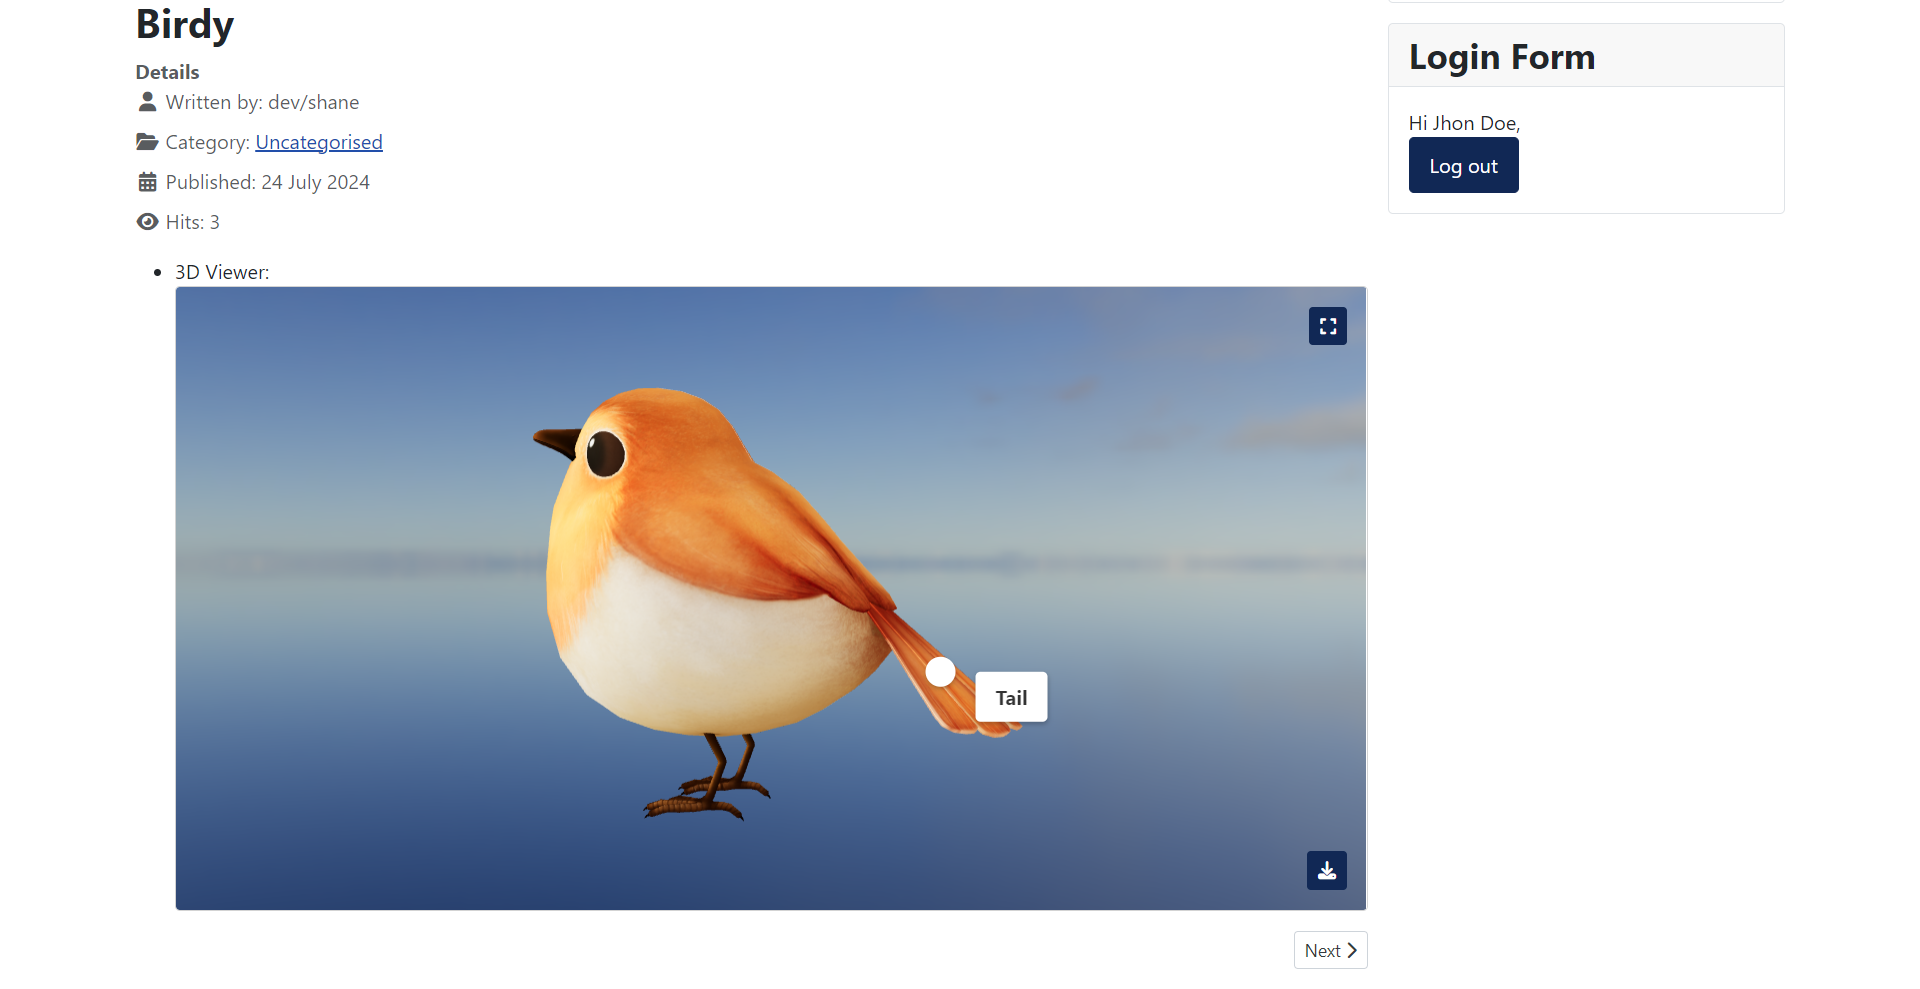
- Poster: Display an image before the model fully loads and renders. This image can be shown in the category view
layout instead of the 3D model to improve performance.
- Pause Animation (if applicable): If your model includes an animation, you can choose to pause the animation, which can be helpful during poster creation.
- Reset Animation (if applicable): This option resets the animation to its starting position, aiding in the creation of your poster and ensuring a smooth transition from the poster to the 3D rendering
- Save: Save the poster to your computer.
- Hotspots: Hotspots allow you to add points of interest to your 3D model display. To add a hotspot:
- Start by clicking on Add hotspot.
- Click on the model where you want to place the hotspot.
- You can add text to your hotspot by specifying a value in the Hotspot label text input created when adding the hotspot.
- Click on the
 icon to remove a hotspot you've created.
Save your Configuration
- Click Keep configuration to retain the customization options you've just set.
- Don't forget to save your article by clicking Apply, Save & Close, or an equivalent option to save your 3D model render configuration.
You can reset the editor options by clicking the Restore defaults button in the editor. Remember to click on Keep configuration once you're finished.
In this section, we've guided you through the process of creating and configuring a new 3D Viewer field, enabling you to tailor the presentation and setup of your 3D models to meet your specific requirements. With the ability to create new fields, configure them, and add models to your content, you now have the tools to enhance your Joomla website with captivating 3D content.

