Installation
Before you can start using the 3D Viewer extension, you need to install it on your Joomla website.
Installing the Extension
- Log in to your Joomla administration panel.
- Navigate to the System tab in the side menu and find Install.
- Click on Extensions.
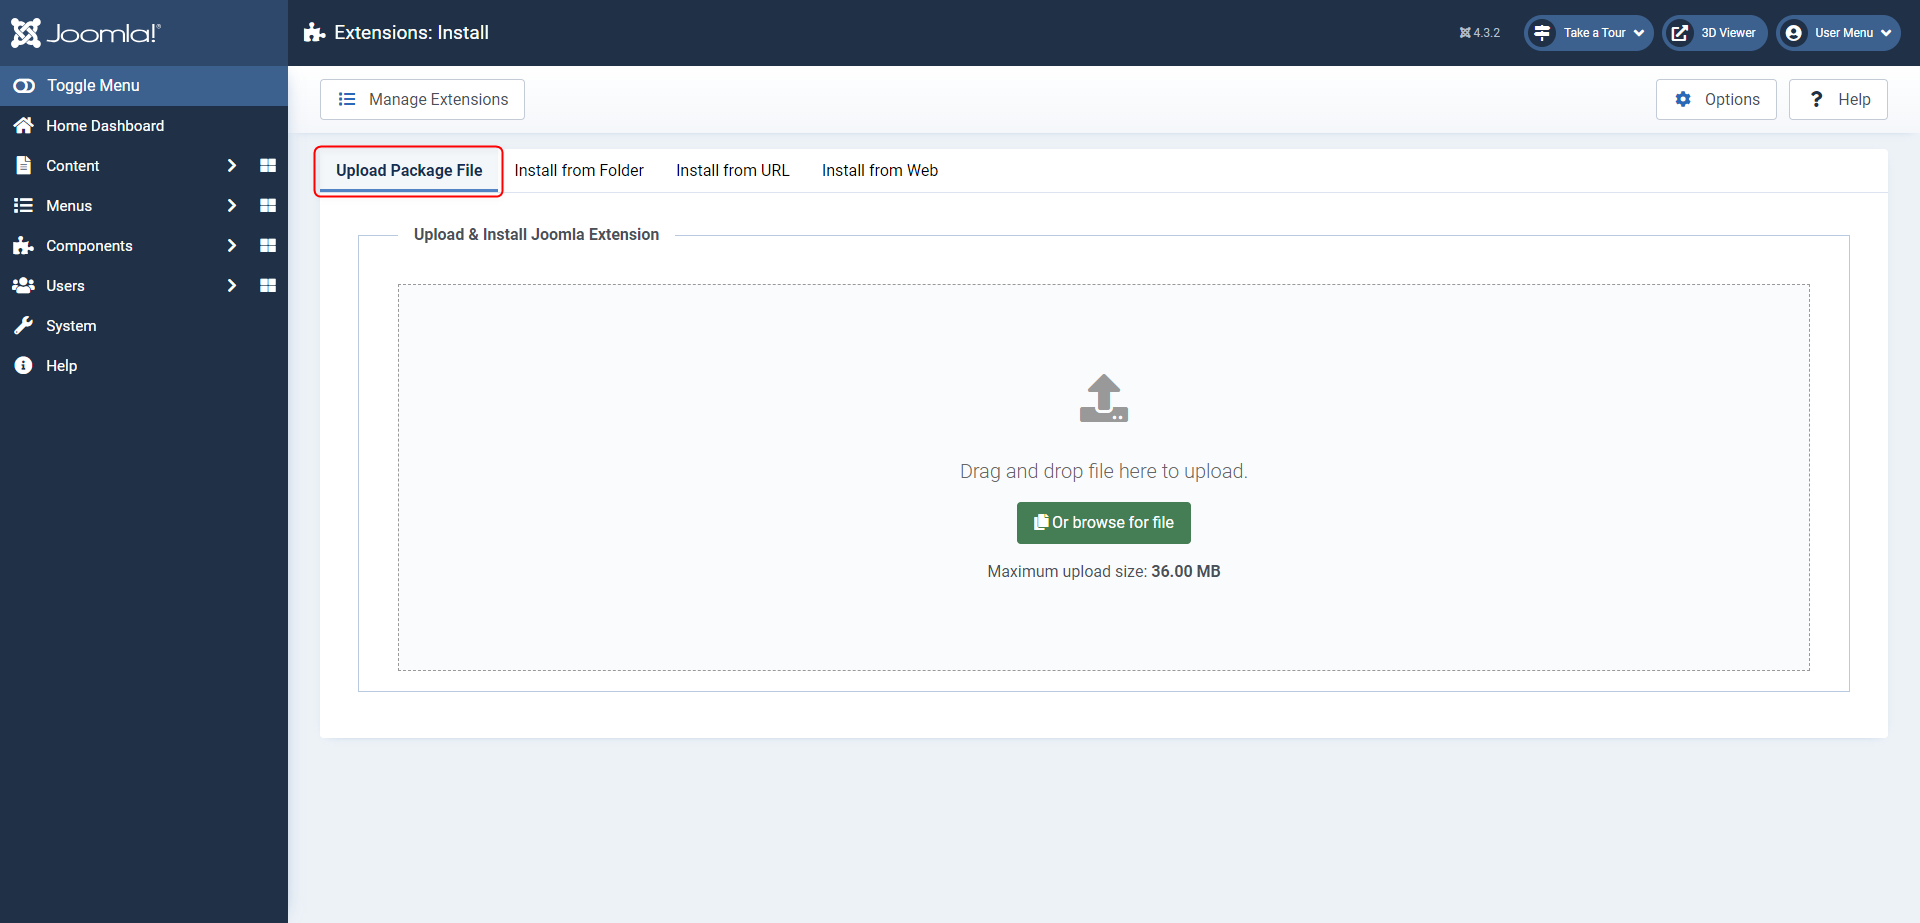
- Choose the Upload Package File tab.
- Click the Browse for File button or drag and drop the ZIP file into the designated area.
- Joomla will initiate the installation process once the file has been chosen or dropped.
Activating Plugins
When installing the 3D Viewer package, both the 3D Viewer field plugin and installer plugin will be enabled by default. If a problem occurs or if you need to re-enable a plugin manually, please follow the steps below:

- Log in to your Joomla administration panel.
- Navigate to the System tab from the side menu, locate Manage and click on Plugins.
- Search for "3D Viewer" in the list of plugins.
- Click on the
 icon to enable the
plugin, or click on the plugin's name and enable the plugin by setting Status to "Enabled".
icon to enable the
plugin, or click on the plugin's name and enable the plugin by setting Status to "Enabled". - Repeat the same steps for the "3D Viewer Installer" plugin.
The 3D Viewer extension is now successfully installed and activated on your Joomla website, and ready for use.
In the next section we'll guide you through the update process of the plugin, ensuring your extension stays up to date with the latest improvements.