Adding 3D Models to Your Items
Now that your 3D Viewer field is configured, let's begin using it to incorporate 3D models into your content item to which you've assigned the field.
Create a New or Edit an Existing Item
- Begin by logging in to your Joomla administration panel.
- In the backend, navigate to the Components tab in the top menu (for Joomla 3) or in the side menu (for Joomla 4).
- From the dropdown menu, select FLEXIcontent.
- Choose Items.
- You can create a new item by clicking New and select the content type you've assigned the 3D Viewer field to. Alternatively, you can click on an existing compatible item's title to begin editing.
- Navigate to the <Your Item Type> (Details) tab, in order to access your custom fields.
Add a Model
Now, you should see the 3D Viewer field. Depending on your setup, you can either add multiple 3D models to your item using Joomla's subform field system or a single 3D model. Let's explore the various fields that make up a 3D Viewer model:

- Description: You can provide a description for your 3D model. This text won't be visible on your site but serves as an accessibility setting, aiding screen readers and similar tools.
- Show Details: After uploading all the necessary files, you may choose to hide the model's details to declutter the editing view.
- 3D Model: Select a file to upload. Please note that the internal model renderer supports only GLB and GLTF files. If your 3D model requires textures and animations, you can upload a ZIP file. In case you encounter difficulties while uploading your ZIP file, review your 3D Viewer field configuration; it might be necessary to allow additional extension types for successful uploads.
- File to Download: Upload the file that your users will be able to download based on your configuration. This field is visible only if you've enabled downloads in the field's settings. Keep in mind that you can upload files in various formats as needed, as per the field's configuration settings. If necessary, you can also upload ZIP files; refer to the configuration guide for more details.
- Poster: Utilizing a poster can enhance performance when loading a page. While the renderer sets up, the poster is displayed, preventing empty spaces. You can create a poster in the Editor (for more information about the editor, check The Editor section).
- Poster Preview: A visual preview of the poster you've uploaded. Even if you choose to hide the model's details, you'll still be able to see the poster you've defined.
- Editor (accessible after uploading a model): Once you have finished uploading your model and saved your item, you will be able to access the model editor. We will go over the editor in more detail in the next section.
warning
The internal 3D renderer only supports GLB and GLTF models.
Edit Layout Parameters (Item)
To ensure your field appears in the item view, you'll need to place it within the item layout:

- In the toolbar, click on Edit layout & global parameters.
- Select the Fields placement tab.
- Locate the 3D Viewer field in the Custom (non-Core) fields list.
- Drag & drop it onto one of the available zones.
- Click Save to save your changes.
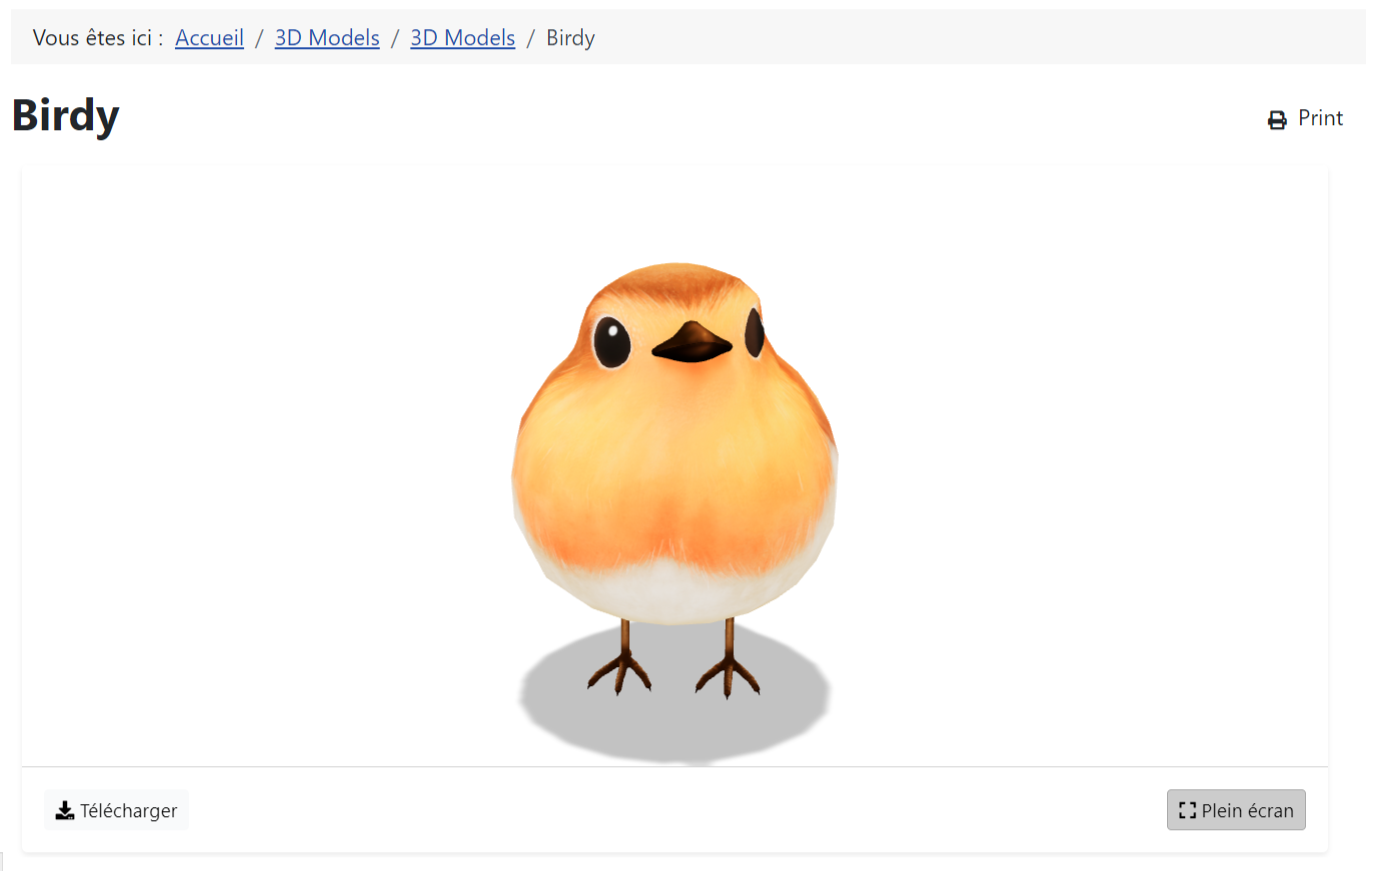
You should now be able to see your 3D model rendered on your site. To preview it, use one of the preview methods from the toolbar.